Introduction
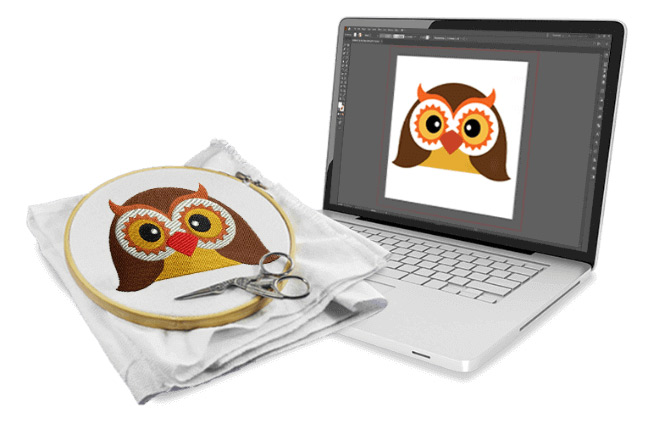
Let’s be honest—nothing kills your embroidery workflow faster than a design that stitches out like a tangled mess on your ZSK machine. You hit start, and suddenly the thread snaps, the needle jumps, or the registration looks like a two-year-old drew it. The culprit? Usually a poor conversion. If you want your ZSK to run like the precision tool it is, you need to convert your designs with stitch accuracy as the main goal. That means understanding the machine’s language, its mechanical quirks, and how to prep your files so they stitch clean, crisp, and fast. In this guide, we’re diving deep into Designs Conversion for ZSK Embroidery Machines and giving you the real steps to get flawless results every time.
Why ZSK Machines Demand Higher Stitch Accuracy
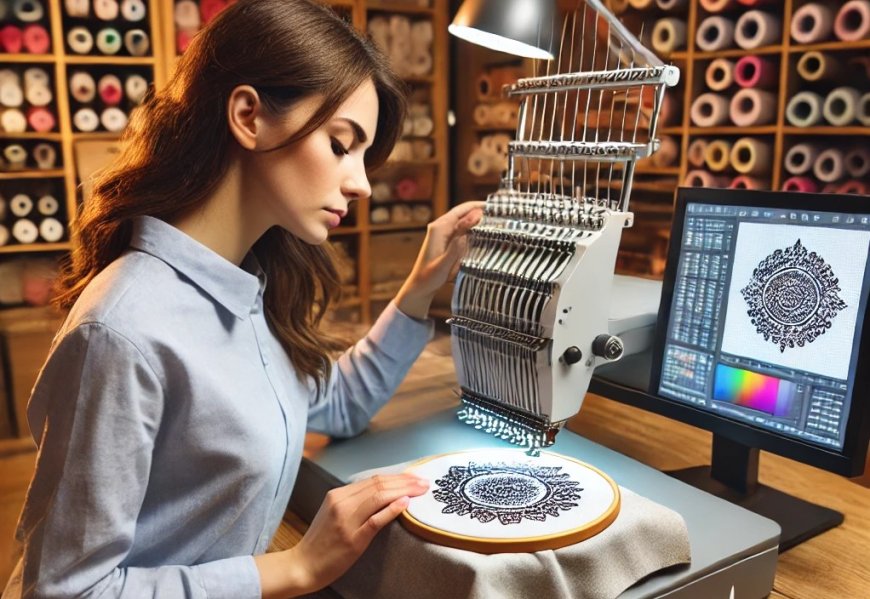
ZSK embroidery machines are not your average home hobby rigs. These are industrial beasts built for speed, multi-head production, and dense workloads. They run fast—sometimes scary fast. And when you feed them a poorly converted design, they don’t slow down to apologize. Instead, they snap threads, skip stitches, or tear through fabric because the stitch data doesn’t match the machine’s movement tolerances.
Here’s the deal: ZSK machines rely on precise step and stitch commands. Even a 0.1 mm misalignment in your conversion can throw off a whole run of 12 caps or 24 shirt backs. That means wasted time, wasted material, and a lot of angry cussing in your embroidery shop. High stitch accuracy isn’t just a nice feature—it’s the difference between hitting your deadline and explaining to a customer why their order is late.
Common File Formats That Work with ZSK
Before you convert anything, you need to know which file types your ZSK machine actually speaks. Most modern ZSK machines (especially those with a ZSK control panel) read native .ZSK files, but they also handle .DST, .DSB, .PES, and .EXP in many cases. That said, don’t get lazy with .DST just because it’s common.
.DST is a low-resolution format—it works, but it lacks stitch density and color change data that a true .ZSK file carries. If you want high stitch accuracy, always aim to convert into native .ZSK format whenever possible. That preserves the exact pull compensation, underlay stitches, and trim commands your design originally had. Third-party converters sometimes strip that data, so you end up with a flat, dumbed-down version of your artwork.
The Step-by-Step Process to Convert for ZSK Accuracy
Let’s walk through how you actually convert a design the right way. I’m assuming you have digitizing software like Wilcom, Pulse, or Hatch, plus a reliable conversion tool or built-in export settings.
Step 1: Start with clean digitizing.
If your original design file has overlapping stitches, weird jumps, or inconsistent densities, no conversion will fix that. Go back and clean your .EMB or native digitized file first. Reduce unnecessary trims, check pull compensation (0.3 to 0.5 mm for knits, less for wovens), and make sure your underlay matches the fabric.
Step 2: Set your machine parameters in software.
Before exporting, tell your software you’re targeting a ZSK machine. Many digitizing platforms let you choose a machine profile. Set the maximum stitch length to 12.1 mm (ZSK’s typical limit) and the hook timing to match a medium-speed industrial head. Also, set your jumps to no more than 2 inches un-trimmed—ZSK likes short jumps or it wastes time and thread.
Step 3: Export to a native .ZSK format.
If your software supports direct .ZSK export, use that. If not, export to .DST first, then run it through a dedicated ZSK conversion utility like ZSK’s own Stitch Converter or a third-party tool like Embird with the ZSK plugin. During conversion, choose “high precision” or “exact stitch” mode—never let the software compress or resample your stitch data.
Step 4: Run a simulation or test stitch.
Here’s where most people get impatient. Don’t skip this. Load your converted file into the ZSK’s simulation mode (most newer models have it). Watch the path: do the trims happen where you expect? Are there weird long stitches across open space? If you see red flags, go back and tweak your conversion settings. Then stitch a test on cheap fabric—same backing and stabilizer as your real run.
Common Stitch Accuracy Killers and How to Fix Them
Even with a good conversion, things can go wrong. Here are the top three accuracy killers I see on ZSK machines.
Stitch skipping happens when your converted file has stitches shorter than 0.3 mm. ZSK needles need a minimum length to catch the bobbin. During conversion, set a minimum stitch length filter to 0.4 mm. That tiny change eliminates skipped stitches.
Thread breaks often come from abrupt angle changes in consecutive stitches. Your conversion software should smooth or “round” extreme corners (greater than 70-degree turns) by adding intermediate stitches. Look for an “angle tolerance” setting and set it to 60 degrees.
Misalignment or stepping occurs when your pull compensation doesn’t match the ZSK’s tension. Unlike Tajima or Barudan, ZSK’s rotary hook system has a slightly different pull characteristic. Increase pull compensation by 5 to 10% compared to what you’d use on a Tajima. Test and adjust.
Tools and Software That Actually Help
You don’t need to spend a fortune, but free converters usually kill accuracy. Here’s what actually works:
- Wilcom EmbroideryStudio – Has a ZSK-specific export module that retains high stitch precision.
- Pulse ID – Great for bulk conversion with batch accuracy settings.
- Embird – Cheap and effective, but you need the ZSK plugin (about $50). Converts cleanly from .DST to .ZSK without adding noise.
- ZSK Stitch Converter (official) – Free from ZSK dealers, but clunky interface. Still, it’s the most accurate because it uses ZSK’s internal math.
Avoid online “free .ZSK converters” like the plague. They resample your design to 0.1 mm resolution and destroy density maps.
Real-World Tips for Production Runs
Once you’ve converted a design accurately, don’t assume every head on your multi-head ZSK will stitch it perfectly. Run a “head alignment test” first—a simple grid of circles and squares. That shows you if any head pulls differently. Then convert your design again but add a global pull compensation offset per head. Yes, you can do that in software like Wilcom by creating head-specific output files.
Also, keep your ZSK’s firmware updated. Newer firmware versions (post-2020) support advanced stitch commands like “smart trim” and “dynamic density,” which your converted file can trigger only if you enable them during export. Check your machine’s manual for the exact command codes.
Conclusion
Converting designs for ZSK embroidery machines doesn’t have to be a headache. The secret is simple: prioritize stitch accuracy at every single step. Start with clean digitizing, use the right file format (preferably native .ZSK), set your machine parameters in software, and always test before running full production. Pay attention to the little things—minimum stitch length, angle smoothing, and pull compensation tweaks—and your ZSK will reward you with smooth, fast, accurate stitching shift after shift. And next time someone tells you “it’s just a conversion,” you can smile knowing that precision separates the pros from the part-timers. Now go convert something the right way.